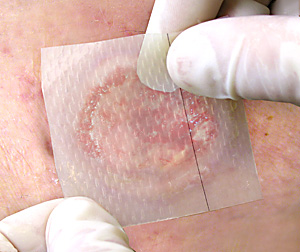
Gently remove INTEGRA™
Meshed Bilayer Wound Matrix sheets from the holding
basin
with gloved hands and place directly onto the wound
Cut the device to size and
apply immediately following wound bed preparation
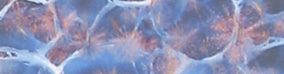
Note: It is critical that the collagen layer be in direct
contact with the
prepared wound. The silicone layer, identified by the
black threads,
must be placed out (away from the wound bed). Do not
apply upside
down; the black threads must be clearly visible.
INTEGRA™ Meshed Bilayer
Wound Matrix must conform to and be in contact with
the prepared wound bed
Do not try to move or "float"
sheets like a split thickness skin graft. Instead, lift
sheets up and reposition
There are two basic application
techniques:
(1) Place sheets on prepared wound bed.
Affix sheets parallel to inside edges by sutures,
staples, or other suitable alternative.
Trim excess; or
(2) Place sheet
on prepared wound bed. Trim sheet to fit site. Affix
sheets perpendicular to
seam by sutures, staples, or other suitable
alternative.
Note: For Patients
that are prone to keloid formation, it is recommended
to place staples parallel to seams approximating healthy
tissue.
Cut sheets to avoid gaps
Place seam lines along Langer's
Lines to reduce risk of contracture
INTEGRA™ Meshed Bilayer Wound
Matrix can overlap healthy tissue by 1 to 2 mm
In a staged procedure, do not place
INTEGRA™ Meshed Bilayer
Wound Matrix in contact with non-viable tissue,
rather maintain a safety margin between the prepared
wound bed and any non-viable tissue
Make sure INTEGRA™
Meshed Bilayer Wound Matrix lies flat with no
wrinkles or bubbles